Open time: 8 : 00 AM - 5 : 30 PM (Monday - Saturday)
Open time: 8 : 00 AM - 5 : 30 PM (Monday - Saturday)
Available on back-order
Integrating the system vibration-damping platform has reduced the installation space by approximately 20-40% compared to Mitutoyo’s earlier installation platforms. Additionally, a design with increased layout freedom greatly improves the measurement room utilization rate and measurement efficiency.
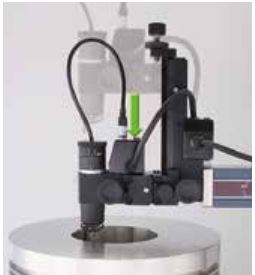
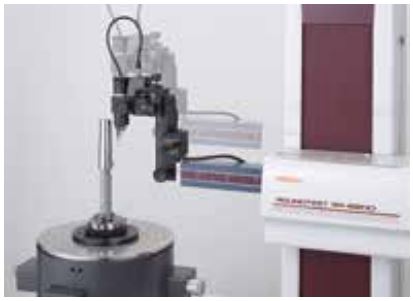
The detector-unit holder is equipped with a sliding mechanism, enabling one-touch measurement of a workpiece with a deep hole having a thick wall, which has been difficult with the conventional standard arm. The detector-unit holder can be stopped at a position sufficiently higher than the workpiece along the Z-axis, and then lowered and positioned to make measurements. Furthermore, internal/external diameters can be easily measured with the continuous internal/ external diameter measurement function

Mitutoyo’s linear scales are incorporated into the X-axis positioning sensor, directly sensing the displacement of the drive unit to achieve highly accurate positioning, which is essential for repeat measurements.
Even if a workpiece cannot be measured by physically rotating it by a full turn due to some obstruction (projection), segments of the circumference can be measured.

Measurement while tracing is possible through a built-in linear scale in the X-axis. This type of measurement is useful when displacement due to form variation exceeds the measuring range of the sensor, and X – a x i s m o t i o n i s necessary to maintain contact with the workpiece surface.

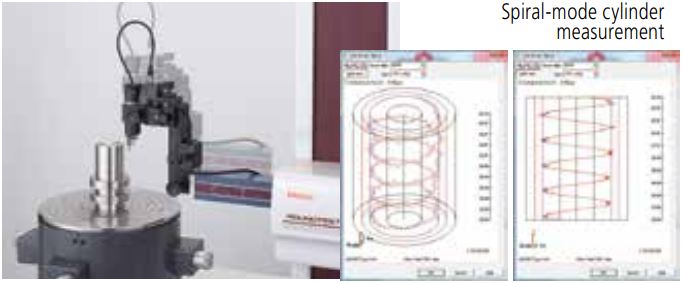
The spiral-mode measurement function combines table rotation and rectilinear action allowing cylindricity, coaxiality, and other data to be loaded as a continuous data set.

|
Model:
|
RA-2200DS
|
|
Centering/leveling adjustment 1*:
|
DAT
|
|
Vertical travel:
|
300 mm
|
|
Max. probing Ø:
|
300 mm
|
|
Max. workpiece Ø:
|
580 mm
|
|
Max. turntable loading
[kg]: |
30
|
|
Turntable:
|
|
|
Rotational accuracy:
|
Radial:<br/7>(0,02+0,00035H) µm<br/7>H: Measuring height from turntable surface (mm)
Axial:<br/7>(0,02+0,00035X) µm<br/7>X: Radial distance from center (mm) |
|
Rotational speed:
|
2, 4, 6, 10 rpm
|
|
Max. turntable loading:
|
30 kg
|
|
Centering range:
|
DS / DH: ±5 mm
AS / AH: ±3 mm |
|
Leveling range:
|
±1°
|
|
Vertical column:
|
|
|
Max. probing height:
|
AS / DS : 300 mm<br/7>AH / DH: 500 mm<br/7>above turntable surface
|
|
Max. probing depth:
|
85 mm (minimum ID : ø32 mm)<br/7>50 mm (minimum ID : ø7 mm)
|
|
Straightness:
|
0.1 µm / 100 mm<br/7>AS / DS : 0.15 µm / 300 mm<br/7>AH / DH: 0.25 µm / 500 mm
|
|
Parallelism with rotation center:
|
AS / DS : 0.7 µm / 300 mm<br/7>AH / DH: 1.2 µm / 500 mm
|
|
Horizontal axis:
|
|
|
Straightness:
|
0.7 µm / 150 mm
|
|
Perpendicularity to rotation center:
|
1 µm / 150 mm
|
|
Software: |
ROUNDPAK
FORMTRACEPAK-AP (optional for roughness detection unit) |
|
Optional accessories:
|
Other optional and standard accessories are listed later in this section for accessories and styli.
|
|
Max. probing Ø :
|
300 mm
|
|
Max. workpiece ø:
|
580 mm
|
|
Printer:
|
Built-in thermal line printer (optional external printer)
|