Open time: 8 : 00 AM - 5 : 30 PM (Monday - Saturday)
Open time: 8 : 00 AM - 5 : 30 PM (Monday - Saturday)
Available on backorder
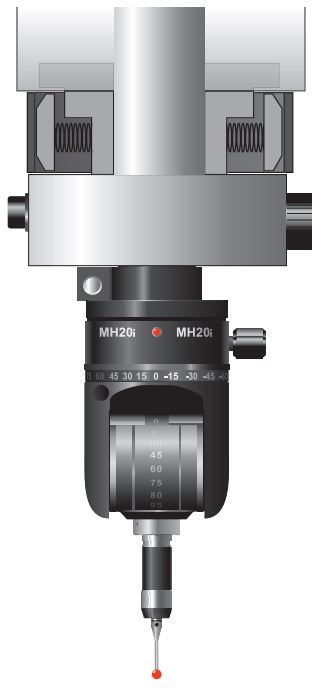
CRYSTA-PLUS M comes with high-end MCOSMOS software with Mitutoyo Intelligent Computer Aided Technology (MiCAT) as standard, the user-friendly command center for professional measuring and evaluation. Combined with numerous optional application-specific modules, MCOSMOS will rise with ease to any challenge, however demanding the specification. Add to that a highly versatile, use-specific range of accessories from specially designed sensor systems through to a flexible clamping system. With CRYSTA-PLUS M, a whole world of high-performance manual 3D coordinate measuring will open up to you. The plus in performance will soon pay for itself.
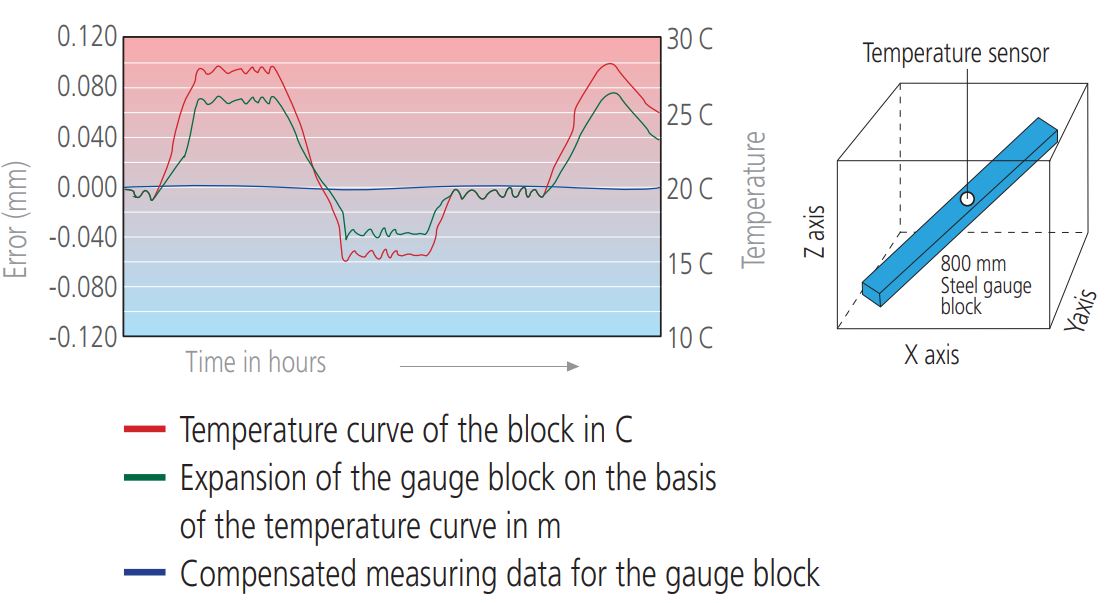
Even with the machine environment and the workpiece temperature fluctuating between 16 ºC and 26 ºC, CRYSTA-PLUS M measures as if thermal conditions were stable. Sensors on the CRYSTA-PLUS M and workpiece record temperature variations and feed the information to the automatic thermal-effect compensation system, which then corrects all measurements back to 20 ºC in real time. This results in shop floor measurements being made to a level of accuracy only otherwise possible in thermally stable measurement laboratories.
Temperature-dependent correction using an 800 mm steel gauge block as an example – measured with alternating environmental temperatures diagonally in the room.
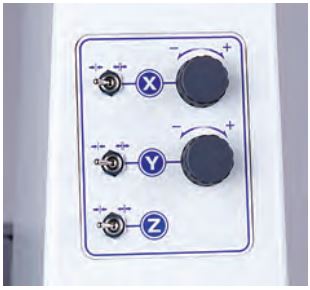
All models include air locks for each axis in conjunction with fine adjustment for the X and Y axes. The 7106 model includes rapid traverse in the X, Y, Z axes and the air locks are integrated into a remote switch box.
CRYSTA-PLUS M provides voice guidance for the user throughout the MCOSMOS Software. This prevents misunderstandings and directs full concentration on guiding the instrument. This enables even lessexperienced operators to carry out complex measuring tasks safely and without error.
Self-adjusting air bearings on all axes allow CRYSTA-PLUS M to move the probe with outstanding smoothness, speed and precision. They form the basis for absolute measuring accuracy.
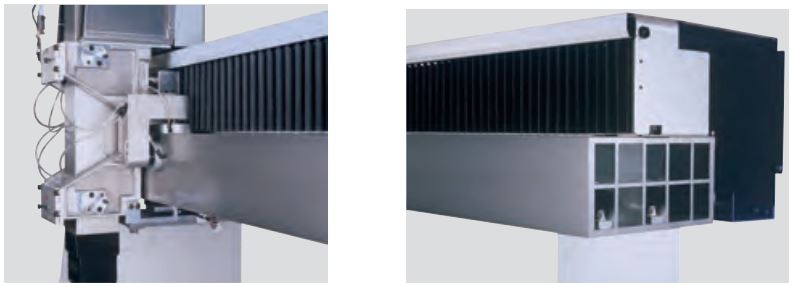
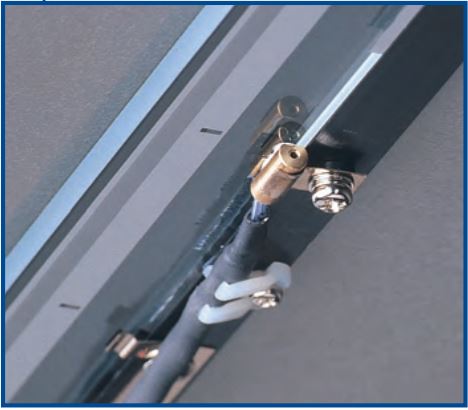
CRYSTA-PLUS M uses high-precision dustproof glass scales with a resolution of 0.5 µm. Optional sensors on the instrument scales provide temperature compensation. This makes CRYSTA-PLUS M particularly suitable for use in a harsh production environment.
The ergonomically designed guide grip on the Z axis helps prevent measurement inaccuracies due to any unsteadiness in manual operation.
| Order No. | 196-352 |
| Model | Crysta-Plus M7106 |
| Type | Bridge Type – Standard, Manual |
| X-axis Range | 27.56in 700mm |
| Y-axis Range | 39.37in 1000mm |
| Z-axis Range | 23.62in 600mm |
| Resolution | .00002in 0.0005mm |
| Work table Material | Granite |
| Work table Size | 34.43×68.50in 900x1740mm |
| Tapped insert | M8x1.25mm |
| Workpiece Height | 31.49in 800mm |
| Workpiece load | 1763lbs 800kg |
| Mass (stand included) | 3968lbs 1800kg |
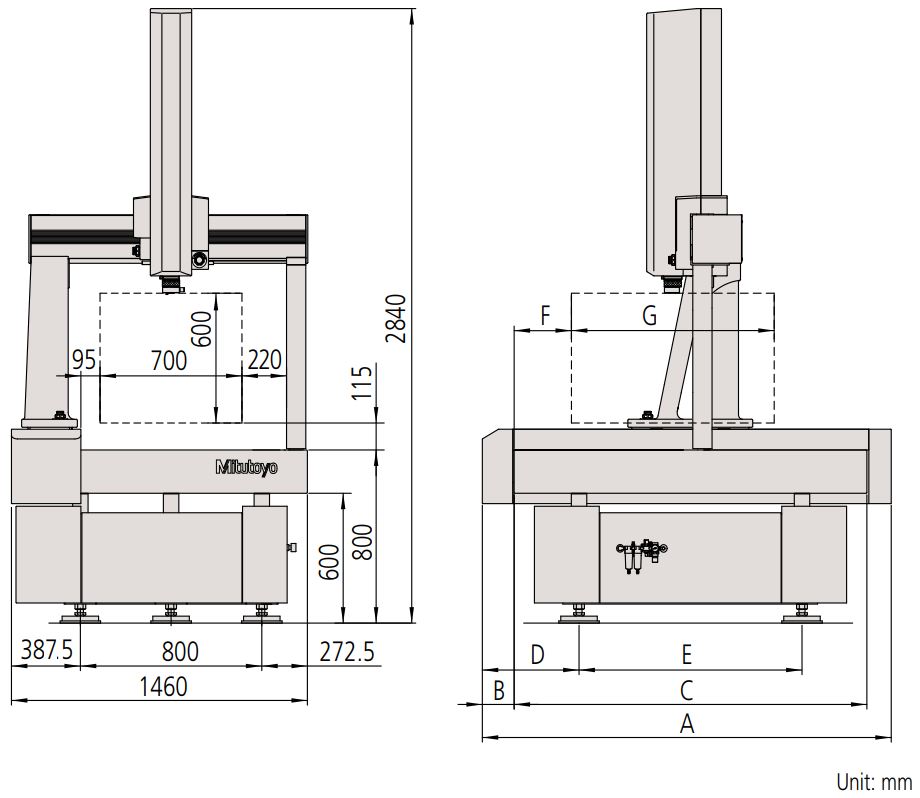
| Dimension | 57.48×79.40×111.42in 1460x2017x2840mm |
| Air Supply | Pressure 58.0 PSI (0.4MPa) Consumption 1.76CFM (50L/min) Source 3.53CFM (100L/min) |
