Open time: 8 : 00 AM - 5 : 30 PM (Monday - Saturday)
Open time: 8 : 00 AM - 5 : 30 PM (Monday - Saturday)
Available on back-order


The cleanliness of components and parts is at the center of the manufacturing process. Meeting high standards for counting, analyzing, and classifying the often micron-sized contaminant and foreign particles is important for all processes: development, manufacturing, production, and quality control of the final product. International and national directives describe the methods and documentation requirements for determining particle contamination on essential machined parts since these particles directly impact the lifespan of parts and components. Previously, the mass of residue particles was used to characterize the residue. The standards in use today demand more detailed information about the nature of the contamination such as the number of particles, particle size distribution, and particle characteristic. The OLYMPUS CIX100 Cleanliness Inspection System is designed to meet the cleanliness requirements of modern industry and national and international directives.
The OLYMPUS CIX100 system delivers enhanced performance and productivity through the entire inspection process and is designed to make cleanliness inspection easy for inspectors of every experience level. The software provides step-by-step guidance through the complete cleanliness inspection. Intuitive workflow improve productivity and confidence in results while reducing cycle time, cost-per-test, and handling errors. The result is a system optimized to maintain high quality standards.
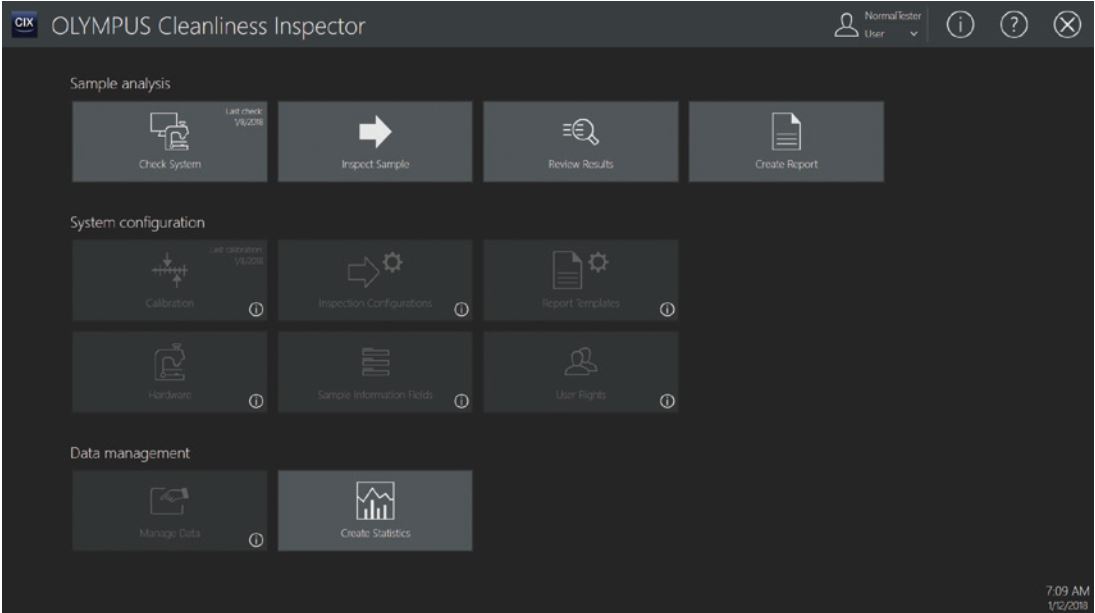
The OLYMPUS CIX100 system enables administrators to control which users have access to different parts of the system. Depending on an operator’s level of experience, the system administrator can define variable roles and choose which functionality to assign to operators. Power users may have access to the complete system setup, while inexperienced users can be limited to basic workflows. This functionality helps ensure that inexperienced users generate reliable results.
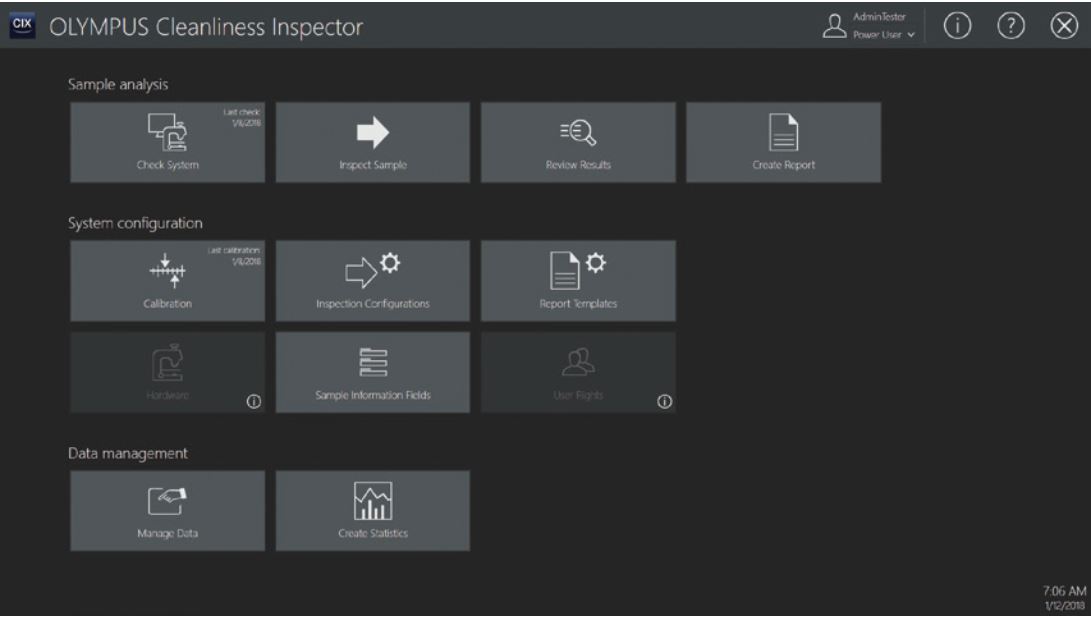
The OLYMPUS CIX100 system offers highperformance image acquisition and precise live analytics of both reflective and non-reflective particles ranging from 2.5 µm up to 42 mm in a single scan thanks to an innovative polarization method. This all-in-one-scan solution enables scans to be completed twice as fast as classical method (Inspector series). Counted and sorted particles are displayed live and sorted into size classes, supporting direct decision making for reprocessing and helping ensure a fast reaction time in case of a failed test
An innovative polarization method based on wavelength separation and color detection detects both reflective (metallic) and nonreflective particles in a single scan. Integrated into the microscope frame, this high-throughput design enables scans to be completed twice as fast as classical method (Inspector series) and eliminates operator interaction with system components, such as the polarizer, which can negatively impact the system settings, leading to potentially incorrect results. This all-in-one-scan technique increases the number of inspected particles, reducing the cost per test and shortening the reaction time in case of a failed test.
| ‘Classical’ method |
‘New’ method Combined |
|
Non-reflecting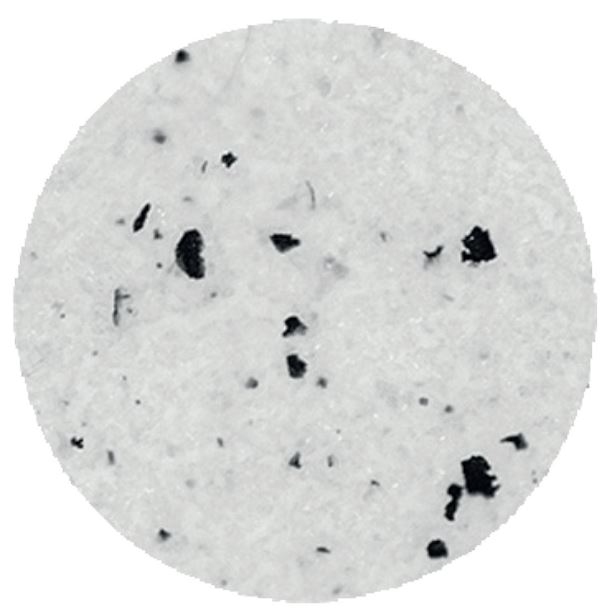 |
Reflecting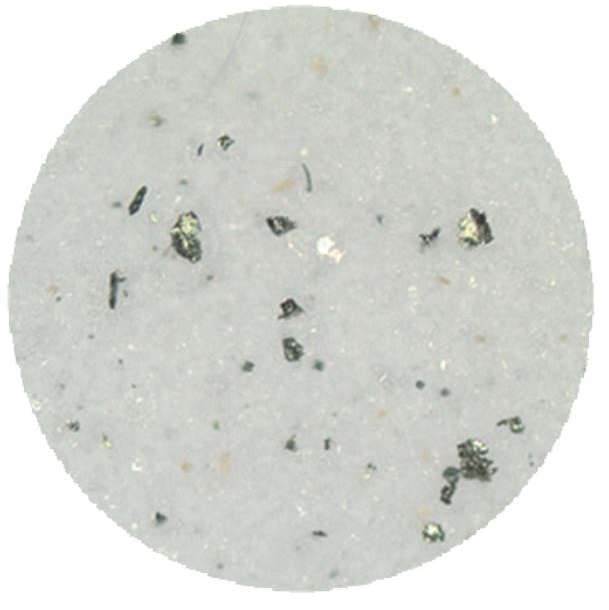 |
|
The OLYMPUS CIX100 system includes powerful and easy-to-use tools to revise inspection data with a fast guided particle review. The one-click reclassification function provides users flexibility
and supports international standards. Thumbnail images of every contaminant detected by the system are linked together with dimensional measurements, making it easy to review the data. Retrieving a particular contaminant’s information is simple. Through the review process, all results are updated and displayed automatically in all views and size classification bins. This leads to maximum time savings with clear representations of all relevant inspection results.
Operators can easily revise their inspection data. Powerful software tools including delete, split, and merge make revising the data simple


The smart and sophisticated reporting tools based on predefined templates that comply with industry standards enable easy one-click digital documentation of the inspection results. The results are created in Microsoft Word 2016 and can also be directly exported as PDF so that data can easily be sent via email. Report templates help inexperienced operators avoid mistakes, but can be easily modified to meet the needs of your company. Tools for data sharing and reporting save time and increase reaction time and productivity. The OLYMPUS CIX100 system can also archive reports and data for record keeping.
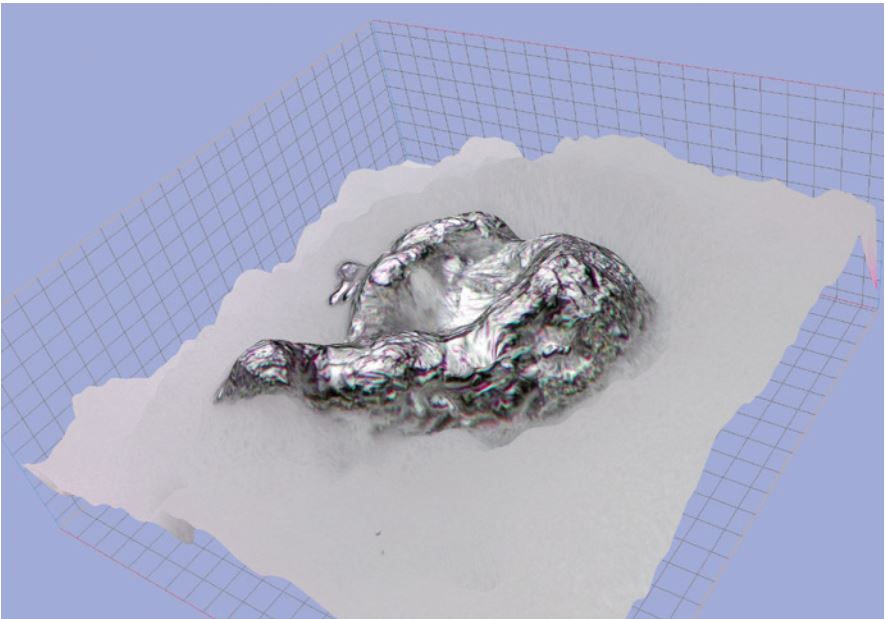
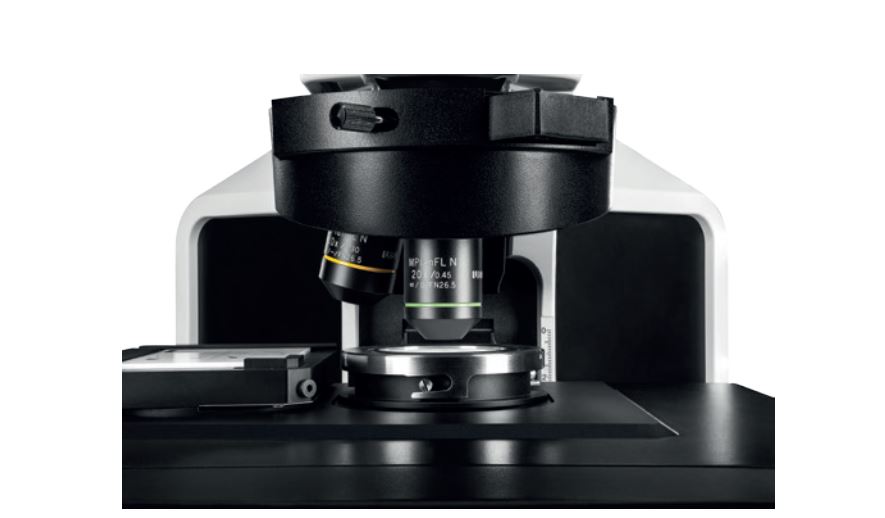
The OLYMPUS CIX100 system’s functionality can be enhanced with a height measurement solution consisting of a 20X objective and special software to fulfill the VDA 19 requirements for height measurements. For selected particles, the height measurement is performed either automatically or manually. The calculated height value is listed as an additional data field in the results sheet.
|
Microscope |
OLYMPUS CIX100 |
Motorized focus |
Coaxial motorized fine focus with 3 axis joystick |
|
Focus stroke 25mm |
|||
|
Fine stroke 100 µm / rotation |
|||
|
Maximum height of stage holder mounting : 40 mm |
|||
|
Focus speed 200 µm/sec |
|||
|
Software autofocus enabled |
|||
|
Customizable multi-point focus map |
|||
|
Illumination |
Built-in LED illumination |
||
|
Innovative illumination mechanism with simultaneous detection of reflecting and non-reflecting particles |
|||
|
Light intensity controllable by software |
|||
|
Imaging device |
Color CMOS USB 3.0 camera |
||
|
On chip pixel size 2.2 x 2.2 µm |
|||
|
Sample height |
Sample is limited to filter membrane (diameter 42 mm) mounted into the provided filter holder. |
||
|
Nose piece |
Motorized type |
Motorized Nosepiece |
6 positions motorized nosepiece with 3 UIS2 objectives already installed |
|
PLAPON 1.25X used for preview |
|||
|
MPLFLN 5X used for detecting particles bigger than 10 µm |
|||
|
MPLFLN 10X used for detecting particles bigger than 2.5 µm |
|||
|
Software controlled |
The image magnification and relation between pixel and size is known at every moment. |
||
|
Selected objectives are used at selected steps into the measurement process, objectives are automatically positioned |
|||
|
Stage |
Motorized stage X,Y |
Motorized stage X,Y |
Stepper motors controlled movement |
|
Maximum range : 130 x 79 mm |
|||
|
Max speed 240 mm/s (4 mm ball screw pitch) |
|||
|
Repeatability < 1µm |
|||
|
Resolution 0.01 µm |
|||
|
Controllable with 3 axis joystick |
|||
|
Software controlled |
Scanning speed is depending on the used magnification, at 10x the scanning speed is less than 10 minutes |
||
|
Stage alignment is performed at factory assembly |
|||
|
Specimen holder |
Sample holder |
Membrane holder is specially designed to avoid an unwanted rotation of the membrane during the mounting |
|
|
The membrane is mechanically flatten by the membrane holder |
|||
|
No tool is needed to fix the cover |
|||
|
The sample holder is always assigned the slot 1 on the stage |
|||
|
Particle Standard Device (PSD) |
Reference sample used to validate the system measurement |
||
|
Sample used in the check system built-in function for controlling the proper function of the CIX |
|||
|
The PSD is always assigned slot 2 on the stage |
|||
|
Stage insert |
2-Position stage insert |
Stage insert dedicated to the right positioning of the sample holder and the PSD |
|
|
Controller |
Workstation |
High-Performance pre-installed workstation |
HP Z440, Windows 10-64 bit Professional (English) |
|
16 GB RAM, 256 GB SSD and 4 TB data storage |
|||
|
2GB video adapter |
|||
|
Microsoft Office 2016 (English) installed |
|||
|
Networking capabilities, English qwerty keyboard, optical mouse 1000 dpi |
|||
|
Add-in boards |
Motorized controller, RS232 serial and USB 3.0 |
||
|
Language selection |
Operating system and Microsoft Office default language can be changed by the user |
||
|
Touch panel display |
23 inch slim screen |
Resolution 1920×1080 optimized for use with the CIX software |
|
|
Power |
Rating |
AC adapter (2), Controller and Microscope frame (4 plugs necessary) |
|
|
Input: 100-240V AC 50/60Hz, 10 A |
|||
|
Power consumption |
Controller: 700 W; Monitor: 56 W; Microscope: 5.8 W; Control Box 7.4 W |
||
|
Total: 769.2 W |
|||
|
Drawing |
Dimensions |
Approx. 1300 mm × 800 mm × 510 mm |
|
|
Weight |
44 kg |
||