Open time: 8 : 00 AM - 5 : 30 PM (Monday - Saturday)
Open time: 8 : 00 AM - 5 : 30 PM (Monday - Saturday)
Available on back-order
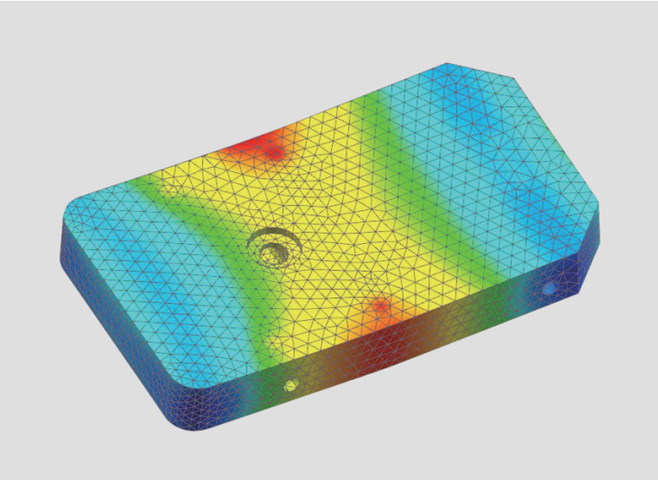
To provide further assurance of measurement accuracy, the STM7 series uses a highly durable, vibration-resistant frame with a granite surface plate. As a result of this stability, measurements can be taken at sub-micron-levels while ensuring minimal error.
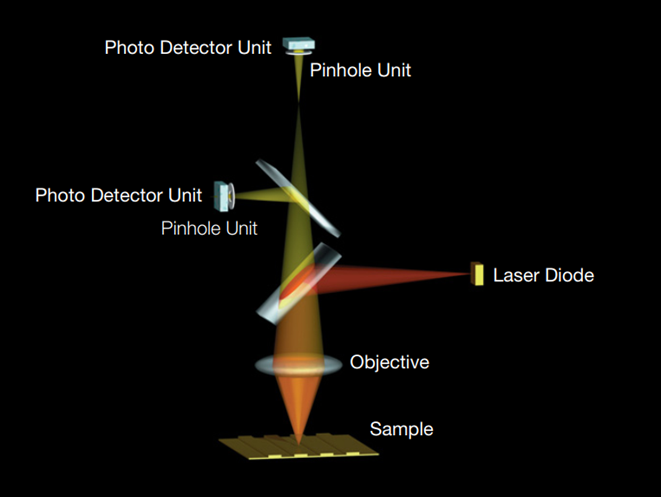
As modern manufacturing technology becomes increasingly miniaturized and precise, highly accurate measurements are even more essential—not only along the horizontal XY axes, but also along the Z-axis. Olympus has responded to such needs by being the fi rst to realize an autofocus system for measuring microscopes by means of the refl ective active, confocal method.
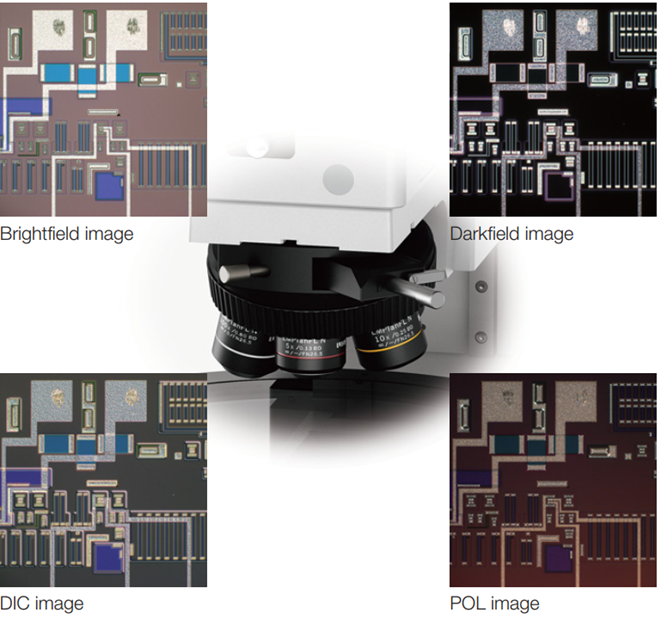
The STM7 series uses the same UIS2 infi nity-corrected optical system used in state-of-the-art optical microscopes. As a result, observed images have high resolution and high contrast, with aberration thoroughly eliminated to help ensure highly accurate measurement in minute detail.
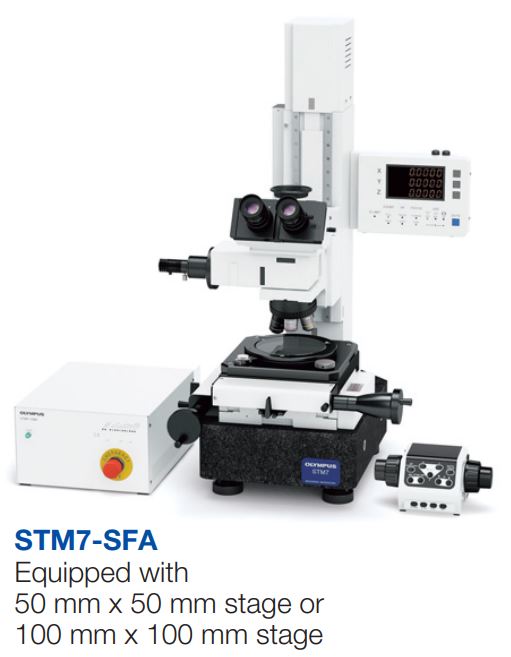
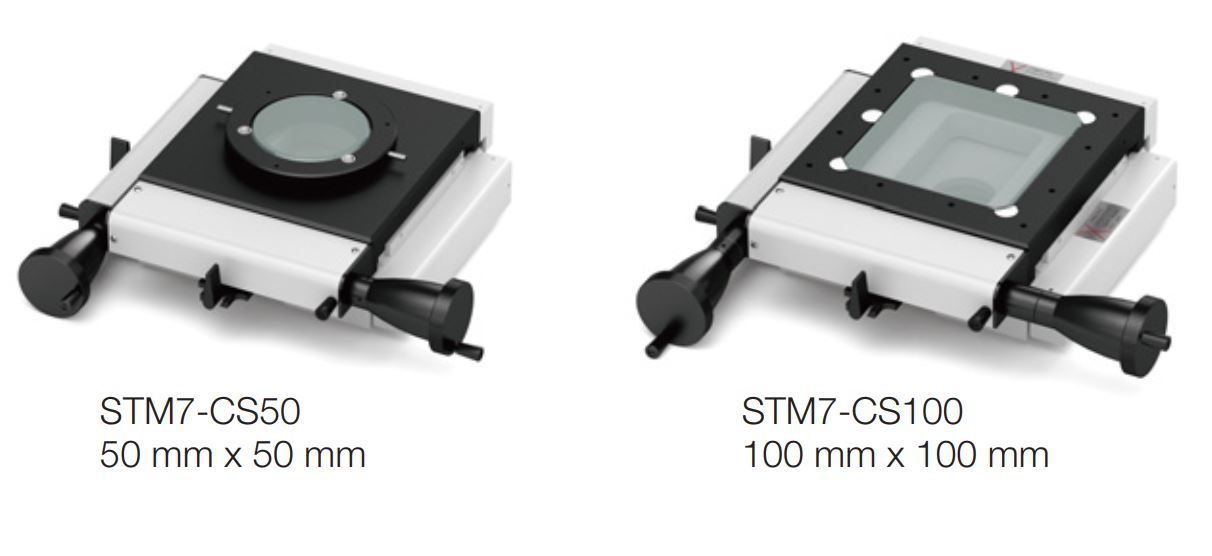
Operability is improved and handling fatigue is reduced for focus and height measurements when using the motorized focus unit. The coaxial knobs for coarse and fine movement offer a feeling similar to manual operation, while the models can also be equipped with an autofocus unit.
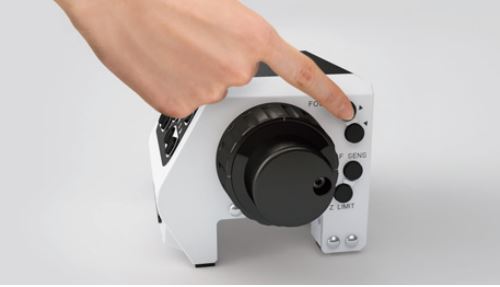
The Olympus’ focus navigator delivers highly reproducible height measurement by projecting a pattern within the fi eld of view and identifying vertical deviations. Slight errors can occur in height measurements taken with normal visual observation, even when focus appears to be sharp. The focus navigator, however, enables measurements to be made simply by matching up the marks thereby reducing operator subjectivity in measurement results.

|
|
Small motorized frame STM7-SFA |
||
|
Microscope body |
Focus |
Vertical movement range |
175 mm |
|
Maximum measurable height |
120 mm (with measurement objective), 175 mm (with metallurgical objective) |
||
|
Z-axis measurement resolution |
0.1 μm |
||
|
Z-axis drive method |
Motorized |
||
|
Illumination |
LED illumination |
White: for reflected light illumination, green: for transmitted light illumination |
|
|
Observation tube |
Erect image monocular tube, erect image trinocular tube (100:0/0:100) |
||
|
Objective |
For measuring microscope |
MM6-OB series |
|
|
For metallurgical microscope |
MPLFLN series, LMPLFLN series, MPLFLN-BD series, LMPLFLN-BD series |
||
|
Eyepiece |
MM6-OCC10X (with cross hairs, FN 22), MM6-OC10X (FN 22) |
||
|
Stage |
Measuring range |
STM7-CS50: X-axis 50 mm, Y-axis 50 mm STM7-CS100: X-axis 100 mm, Y-axis 100 mm |
|
|
Measurement accuracy (L: measuring length) |
STM7-CS50: (3+L/50)μ m STM7-CS100: (3+2L/100) μm |
||
|
Accuracy assurance weight |
STM7-CS50: 5 kg STM7-CS100: 6 kg |
||
|
Counter display |
Number of axes |
Three |
|
|
Unit |
mm/μm/inch/mil |
||
|
Minimum resolution |
0.1 μm |
||
|
Dimensions (W x D x H) (mm) |
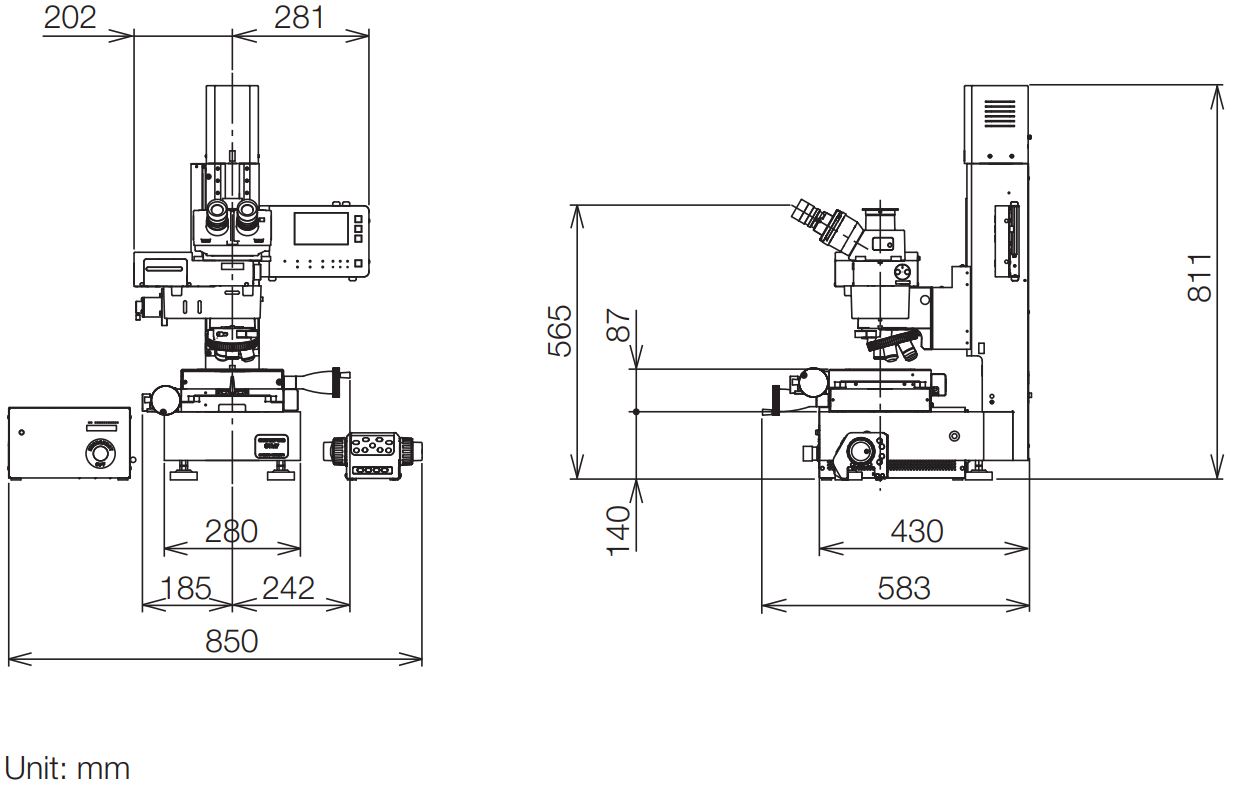
466 x 583 x 811 |
||
|
Weight |
92 kg (Approx.) |
||
|
Power consumption |
100-120/220- |
||
