Open time: 8 : 00 AM - 5 : 30 PM (Monday - Saturday)
Open time: 8 : 00 AM - 5 : 30 PM (Monday - Saturday)
Available on back-order
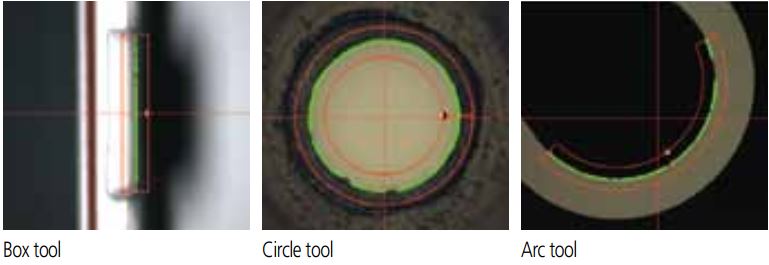
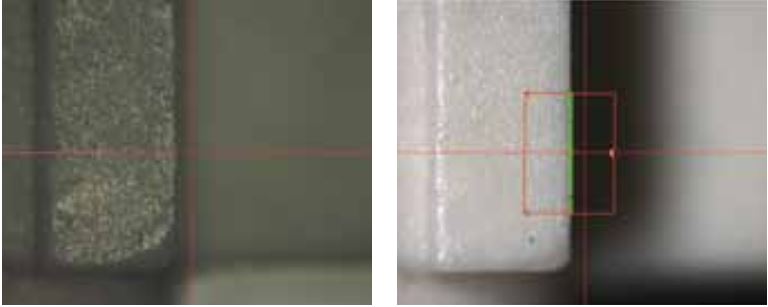
Automatic edge detection
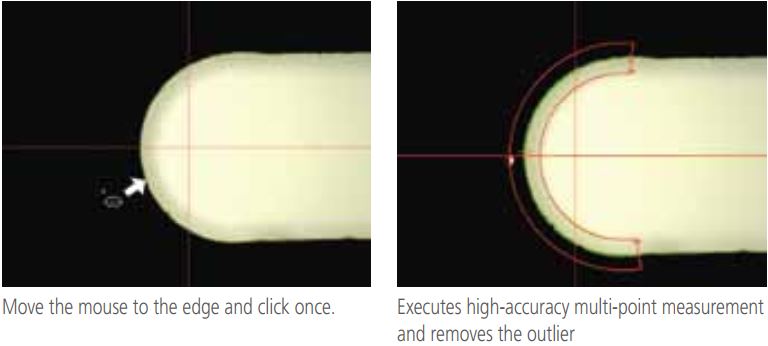
The “automatic edge detection” function will provide high reproducibility in measurements regardless of the skill level of the operator.
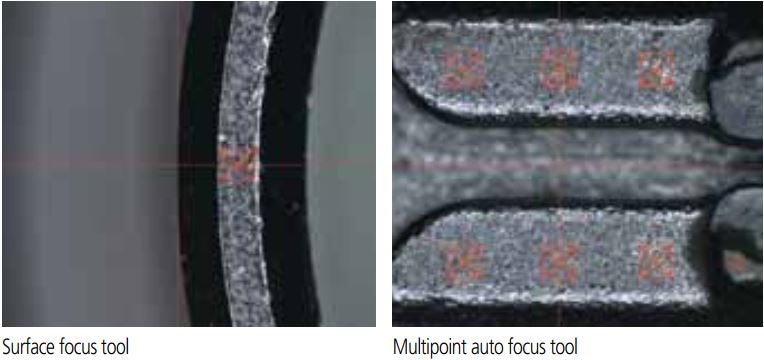
Appropriately setting up the “image auto focus” function will enable reliable and high-speed height measurements.
Pattern search
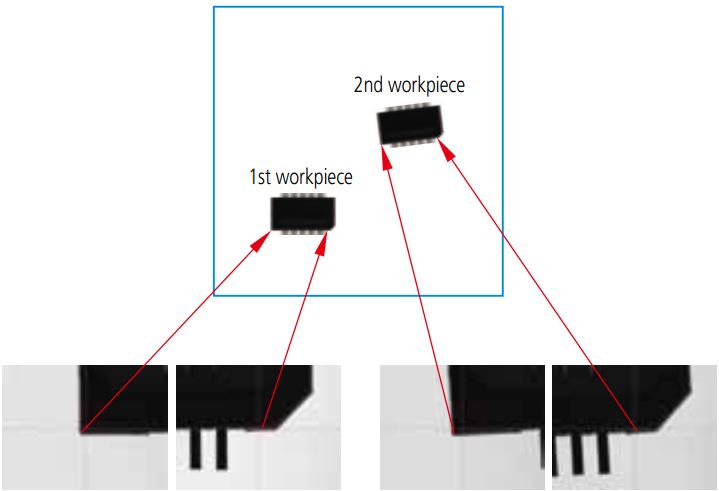
The “pattern search” function automatically recognizes the registered form of the workpiece.
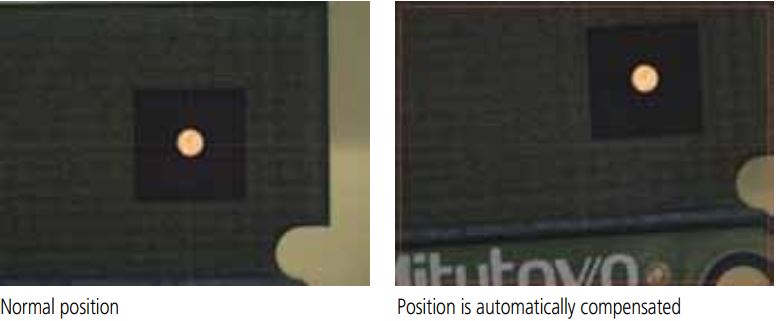
Manual tool
By applying the “manual tool” measurement to automatic measurement, measurement can be performed with temporary positioning. Therefore, automatic measurement can be started from any position on the stage. Making a positioning jig is not required, which results in cost and man-hour reduction.
The newly designed 7:1 ratio zoom unit and interchangeable objectives provide 0.5-7X optical magnification.
Z-objective 1x

Z-objective 1.5x

Z-objective 2x

After selecting the element to be measured (circle, line, etc.), just one click on an edge enables high-accuracy measurement regardless of the proficiency level of the operator. The outlier removal function automatically excludes bad data caused by burrs and dust.
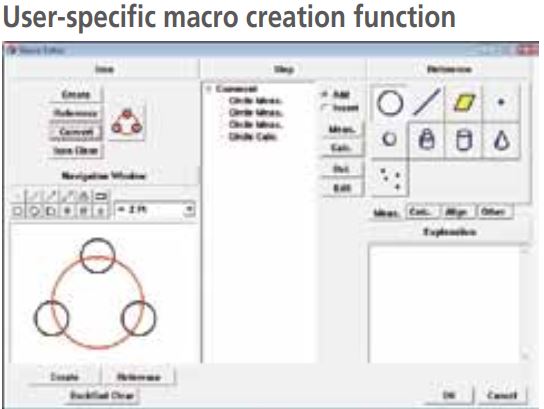
Anyone can easily run a repeat, identical measurement. An image or diagram of the workpiece can be registered as an icon in an automatic measurement program, enabling the target program to be called and run quickly.
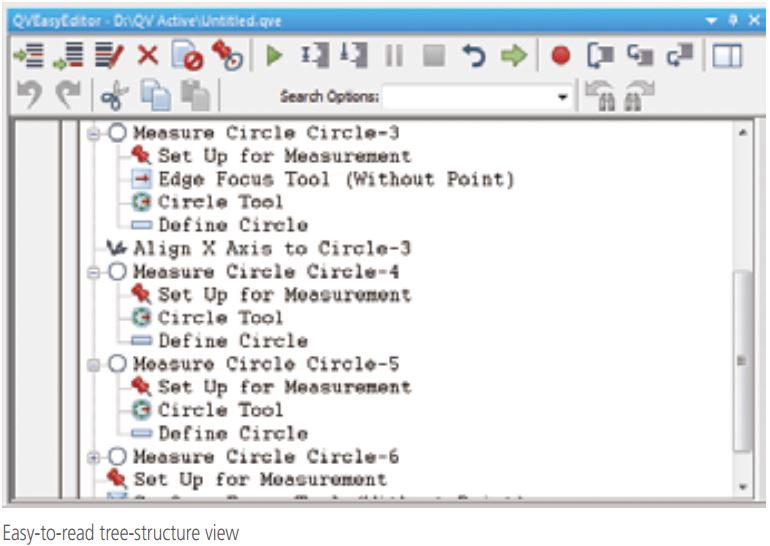
A teaching method is adopted in which programs are automatically recorded while measurement is performed. The insertion, revision, addition, and deletion of the part program can be performed easily using the tree-structure display. Also, execution of only a certain portion of the program after editing can be performed for the purpose of confirmation. Power-user-oriented QVBasicEditor is also available as before.
Access control
Window layout can be customized and registered according to applications. For example, an administrator can display all the functions; an operator can display only the operation-related items.

High-definition color camera
Measurement and observation is performed using high-quality and high-definition images, which prevents operator fatigue even over long periods of observation.
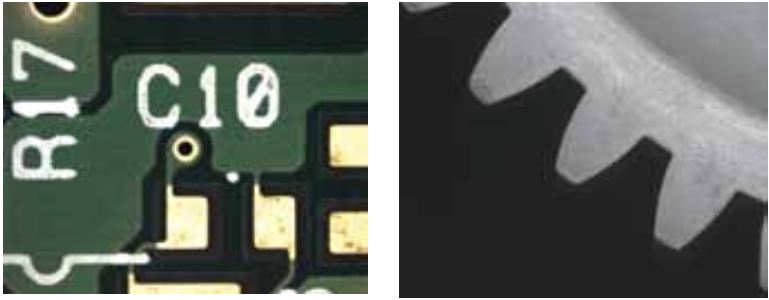
Matching lighting to the feature
Transmitted, co-axial and 4-quadrant ring lighting is provided so that workpiece illumination can be set independently from the front, rear, right and left directions. This enables more reliable measurement by enhancing the sharpness of the edge of the feature to be measured
.
|
Model |
QV ACTIVE 202 TOUCH PROBE QVT1-L202Z1L-D |
|
Order No |
364-109Z |
|
Measuring Range X-Axis |
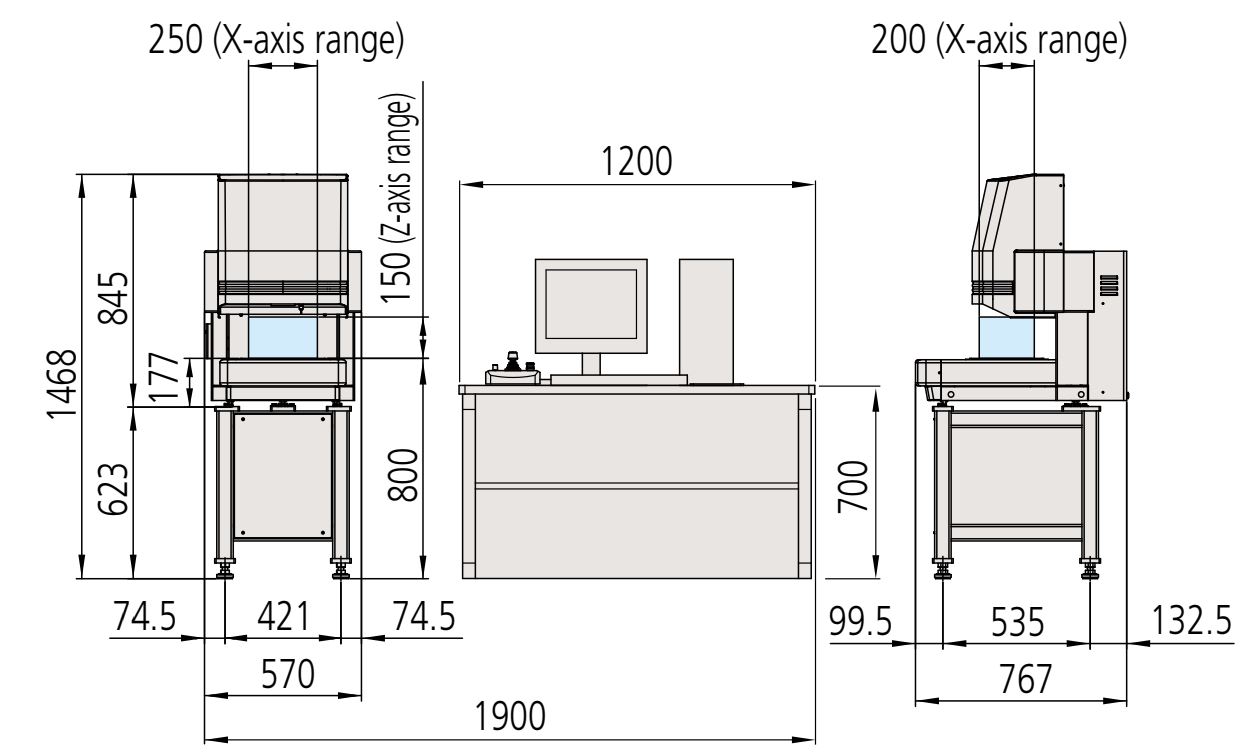
0-9.84in 0-250mm |
|
Measuring Range Y-Axis |
0-7.87in 0-200mm |
|
Measuring Range Z-Axis |
0-5.91in 0-150mm |
|
Resolution |
0.1 µm |
|
Measuring accuracy |
E1(X,Y) = (2+3L/1000) E1(Z) = (3+5L/1000) E2(X,Y) = (2.5+4L/1000) |
|
Max stage loading |
22lbs 10kg |
|
Mass |
265lbs 120kg |
|
Illuminations |
(White LED) Contour / Coaxial / 4-quadrant ring light |
|
Magnification change system |
Zoom optical system with 8 positions (Standard 1.5X magnification lens) |
|
Sensor type |
High-resolution CMOS color camera |
|
Optional objective lenrs |
1X and 2X magnification |
|
Factory option |
Series 364 (TP) Touch-Probe option |
